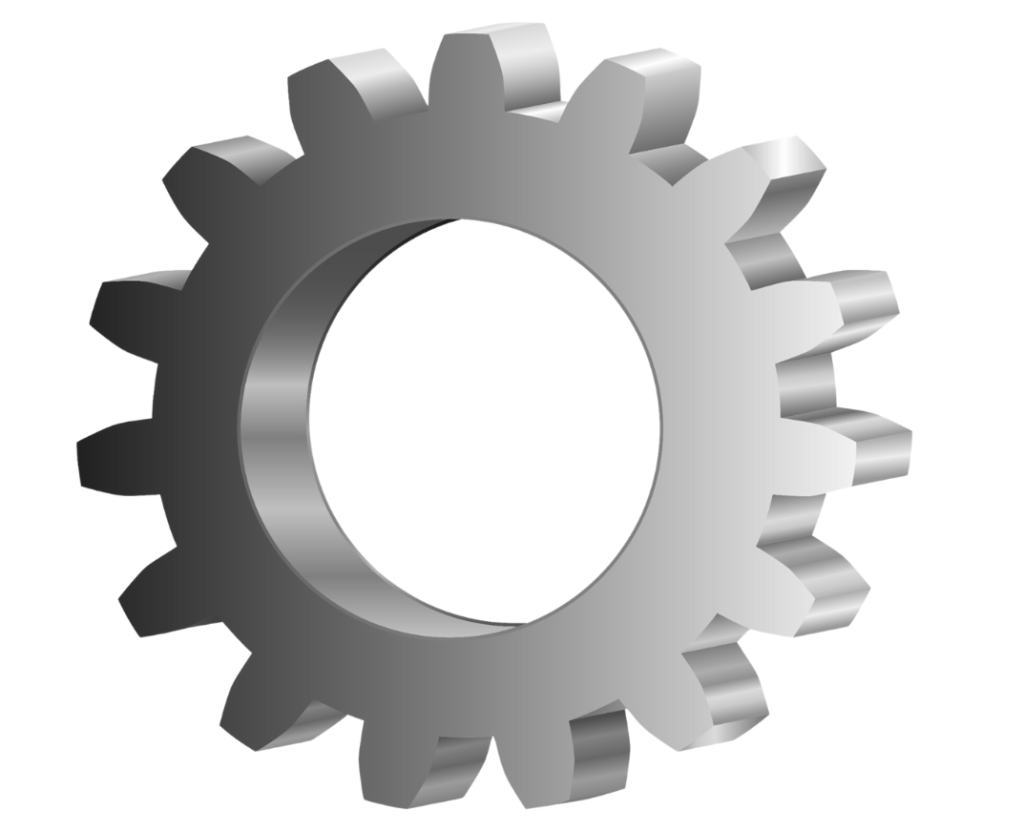
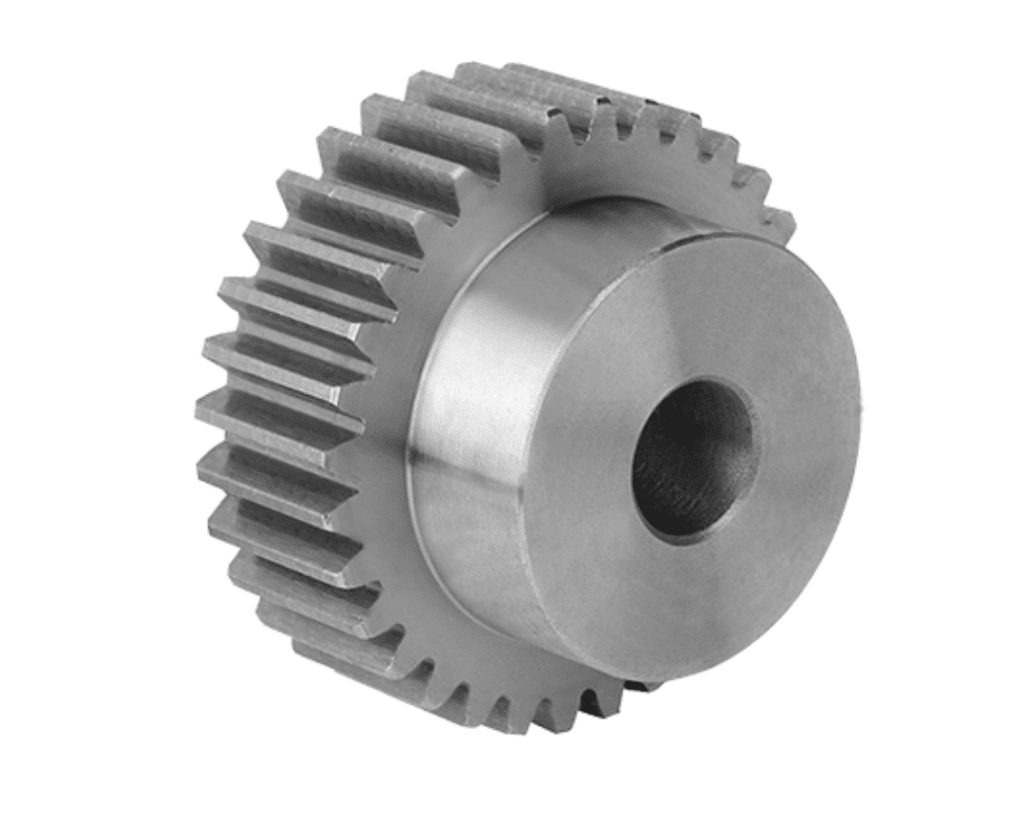
Gears are Essential Mechanical Components that Play a Crucial Role in Transferring Power and Motion Within Various Systems. Defined as Rotating Parts with Teeth, Gears Interact by Meshing with Other Gears to Transmit Torque and Control Motion. This Functionality Enables Gears to Adjust Speed, Direction, and Torque in Machinery, Making them Indispensable in Applications Ranging from Automotive Engines to Industrial Equipment.
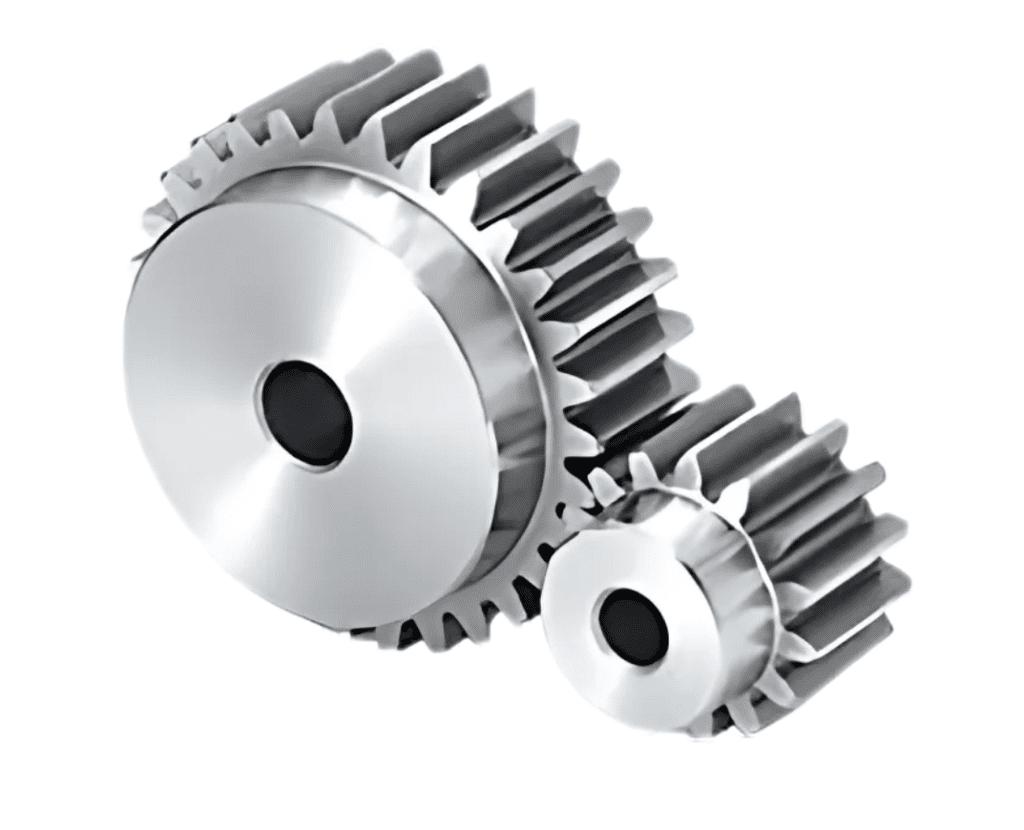
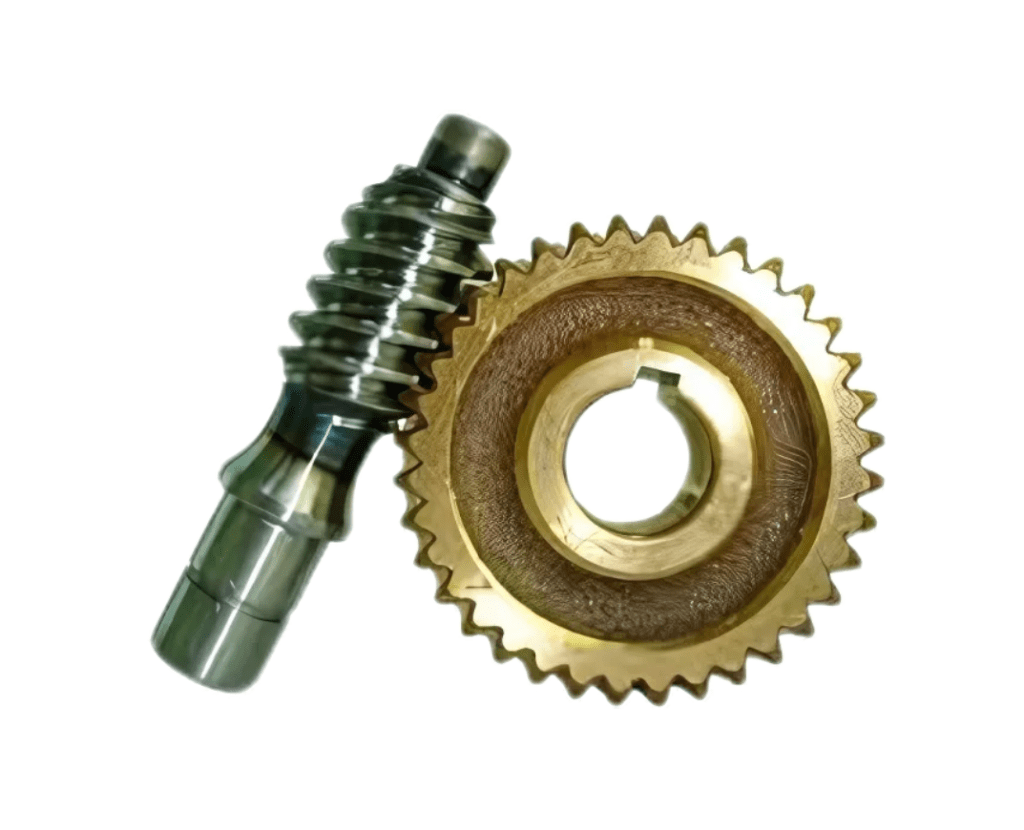
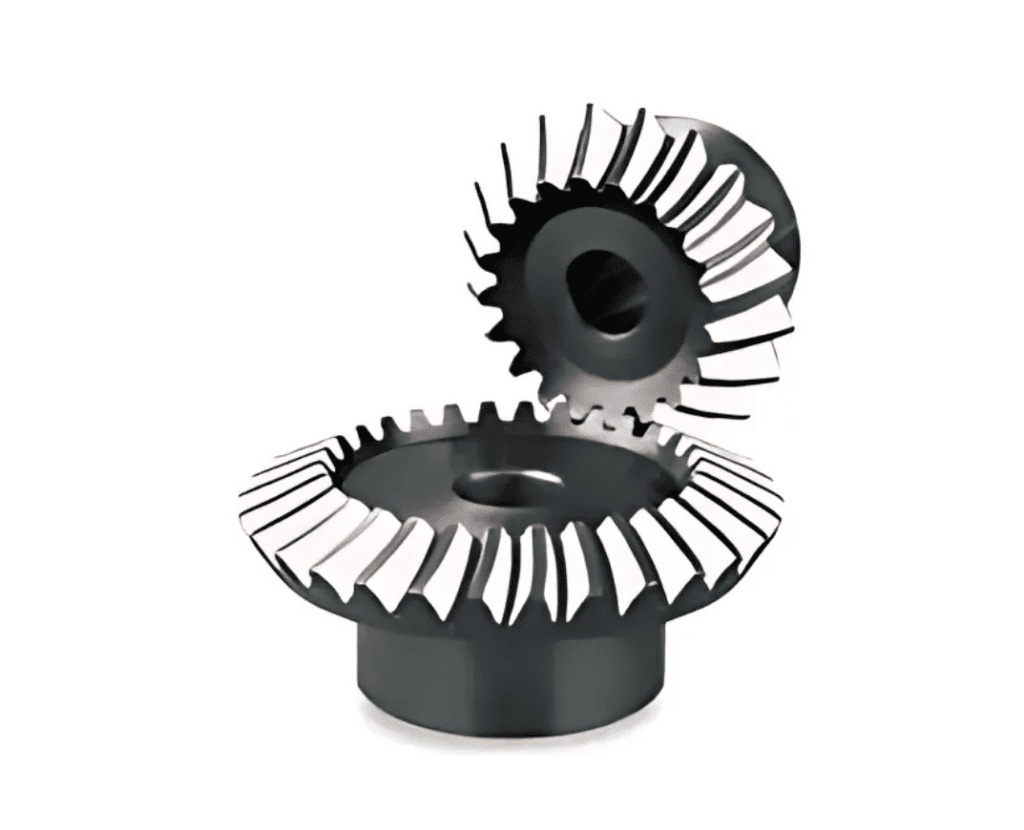
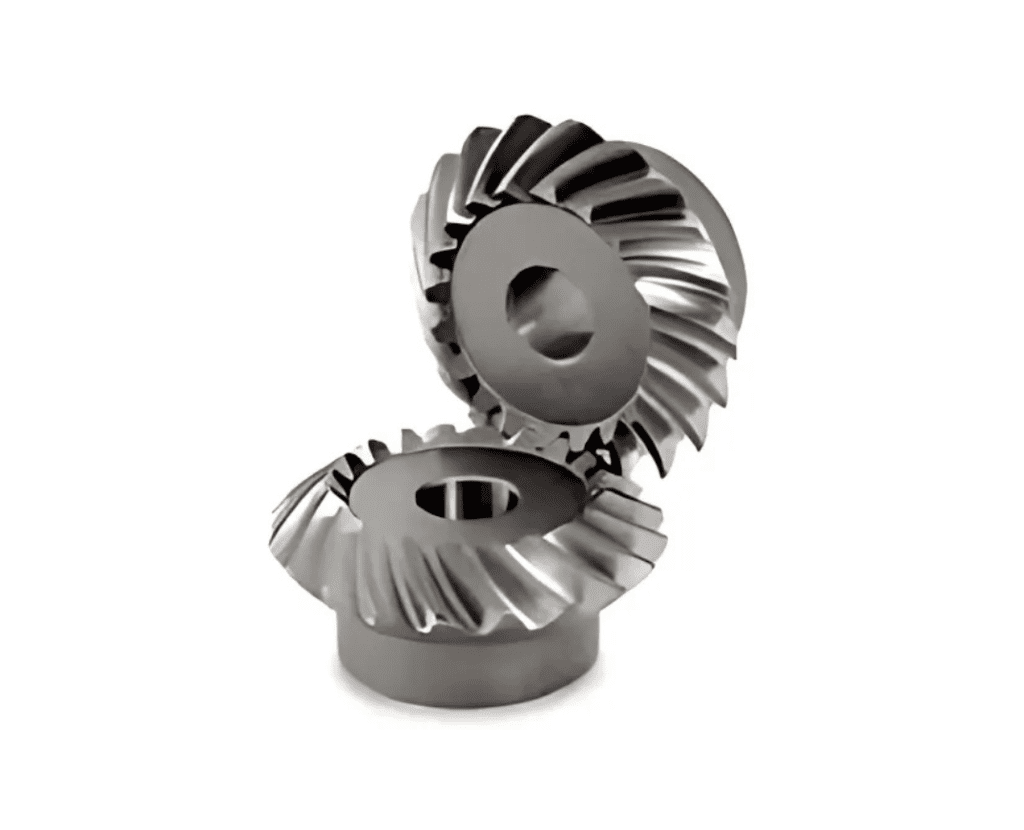
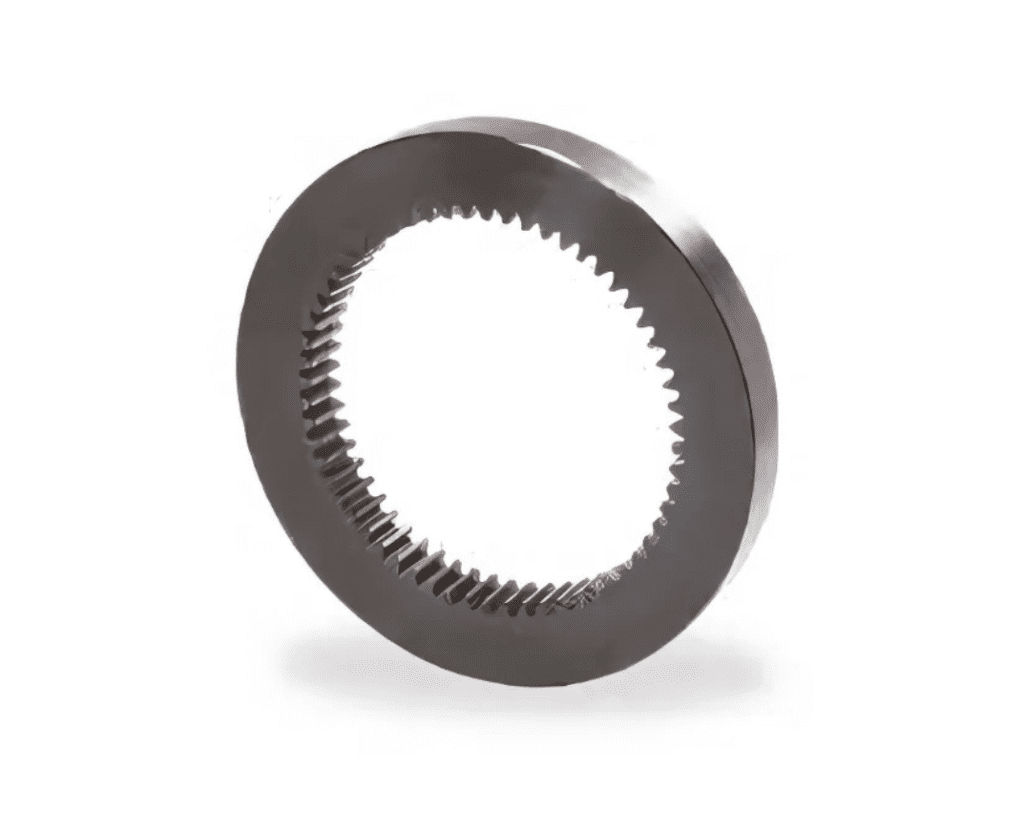
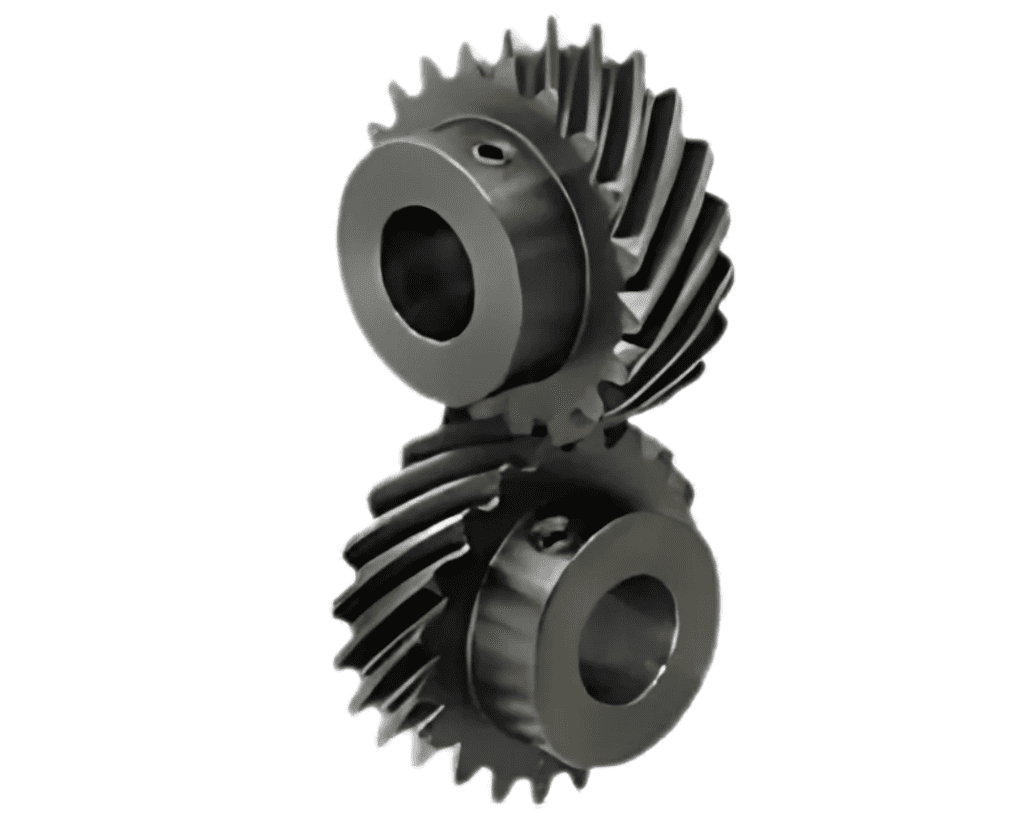
There are Various Types of Gears Like Spur Gears, Worm Gears, Bevel Gears, Miter Gears, Internal Gears, and Screw Gears Each Designed to Suit Specific Applications.
| Code | DIN 3962 | Material | Type | Teeth Treatment | Hardness | Mounted Holes | Module | Page |
| KCHRGH | DIN 5 | S50C | Helical Right Hand 19°31’42” | Teeth Ground | Hardened HRC 50°-55° | Holes | 1.5, 2, 2.5, 3, 4, 5, 6, 8 | P.6 |
| KCHRGH | DIN 6 | S50C | 1.5, 2, 2.5, 3, 4, 5, 6, 8, 10 | P. 7 | ||||
| KAHRG | DIN 6 | SCM440 | * | 1.5, 2, 2.5, 3, 4, 5, 6, 8 | P. 8 | |||
| KCHRM | DIN 8 | S50C | Milled | * | 1.5, 2, 3, 4, 5, 6, 8, 10 | P. 9 | ||
| KCHRMQ | DIN 8 | S50C | HRC18°-22° Quenched & Tempered | 1.5, 2, 3, 4, 5, 6, 8, 10 | P. 10 | |||
| KCHRMH | DIN 10 | S50C | Hardened HRC 50°-55° | 1.5, 2, 3, 4, 5, 6, 8, 10 | P. 11 | |||
| KCSRGH | DIN 5 | S50C | Straight | Teeth Ground | Hardened HRC 50°-55 | 2, 3, 4, 5 | P. 12 | |
| KCSRGH | DIN 6 | S50C | 1.5, 2, 2.5, 3, 4, 5, 6, 8 | P. 13 | ||||
| KCSRM | DIN 8 | S50C | Milled | * | 1.5, 2, 3, 4, 5, 6, 8, 10 | P. 14 | ||
| KCSRMQ | DIN 8 | S50C | Quenched&Tempered HRC 18°-22° | 1.5, 2, 3, 4, 5, 6, 8, 10 | P. 15 | |||
| KCSRMH | DIN 10 | S50C | Hardened HRC 50°-55° | 1.5, 2, 3, 4, 5, 6, 8, 10 | P. 16 |
| 1st | 2nd | 3rd | 4th | 5th | 6th | 7th | 8th |
| Material | Type | Shape | Teeth Treatment | Hardness | Module | Length | Grade |
| C | S | R | G | H | 020 | 10 | DIN JIS |
| C= Carbon Steel =S50C A=Alloy Steel =SCM440 | S=Straight H=Helical | R=Rhombus | M=Milled G=Ground | H=Hardened Q=Quenched & Tempered | M1.5~M10 | 05=500mm 10=1000mm 15=1500mm 20=2000mm | DIN 5-10 JIS 1-5 |
